Professional-Looking Canvas Hanging Starts Before the First Hook
Hanging canvas art well is a mix of measurement, wall knowledge, visual judgment, and respect for the artwork's stretched structure. A canvas can be lightweight compared with framed glass, but it still needs stable hardware, a level line, the right height, and enough clearance to look intentional in the room. The professional result is not just a straight picture; it is a canvas that feels sized, placed, and secured for the wall around it. A little planning prevents crooked edges, damaged corners, unsafe anchors, and the quiet disappointment of art that almost works.
A: Use comfortable viewing height, then adjust for furniture and room scale.
A: For small light pieces, often yes; wide or heavy canvas may need two.
A: Use one when the weight, width, or wall type calls for stronger support.
A: Loose wire, hardware depth, or missing bumpers can cause forward tilt.
A: Yes, especially for large pieces or grouped arrangements.
A: Leave enough breathing room while keeping the art connected to the furniture.
A: Yes, but use plaster-appropriate hardware and avoid casual drywall assumptions.
A: Use level marks, secure hardware, and two points for wide pieces.
A: Yes. They need visual clearance and protection during handling.
A: Right scale, clean height, secure hardware, level edges, and no visible struggle marks.
Choose the Wall and Height with the Room in Mind
Before measuring hardware, decide why the canvas belongs on that wall. A large print may anchor a sofa, dining area, bed, hallway, or entry view, while a smaller piece may need nearby furniture or a grouping to feel connected. Professional hanging starts with proportion. If the canvas looks lonely or cramped, hardware precision will not fix the design problem.
Eye-level guidance is useful, but rooms vary. A canvas above a sofa should relate to the furniture below it, while hallway art should meet people as they walk through. In most living spaces, the center of the artwork should feel comfortable to view, not pushed toward the ceiling. The right height is measured and seen.
Leave breathing room around edges. Canvas art with wrapped sides needs space to read as an object, especially near trim, shelves, lamps, or window frames. Crowding makes even good art look accidental. A professional wall gives the piece room to hold its shape visually.
Professional installers also think about sight lines from adjacent rooms. A canvas seen straight ahead from a hallway may need a slightly different position than one judged only from the sofa. Walking the room before marking the wall reveals those relationships. Art should greet the viewer from the places where the room naturally moves.
Furniture layout should be finalized before the canvas is placed whenever possible. If the sofa, bed, or console later moves a few inches, the artwork may suddenly feel off-center or too high. Install art after the anchor pieces of the room are settled. The wall composition depends on the room below it.
Match Hardware to Canvas Weight and Wall Type
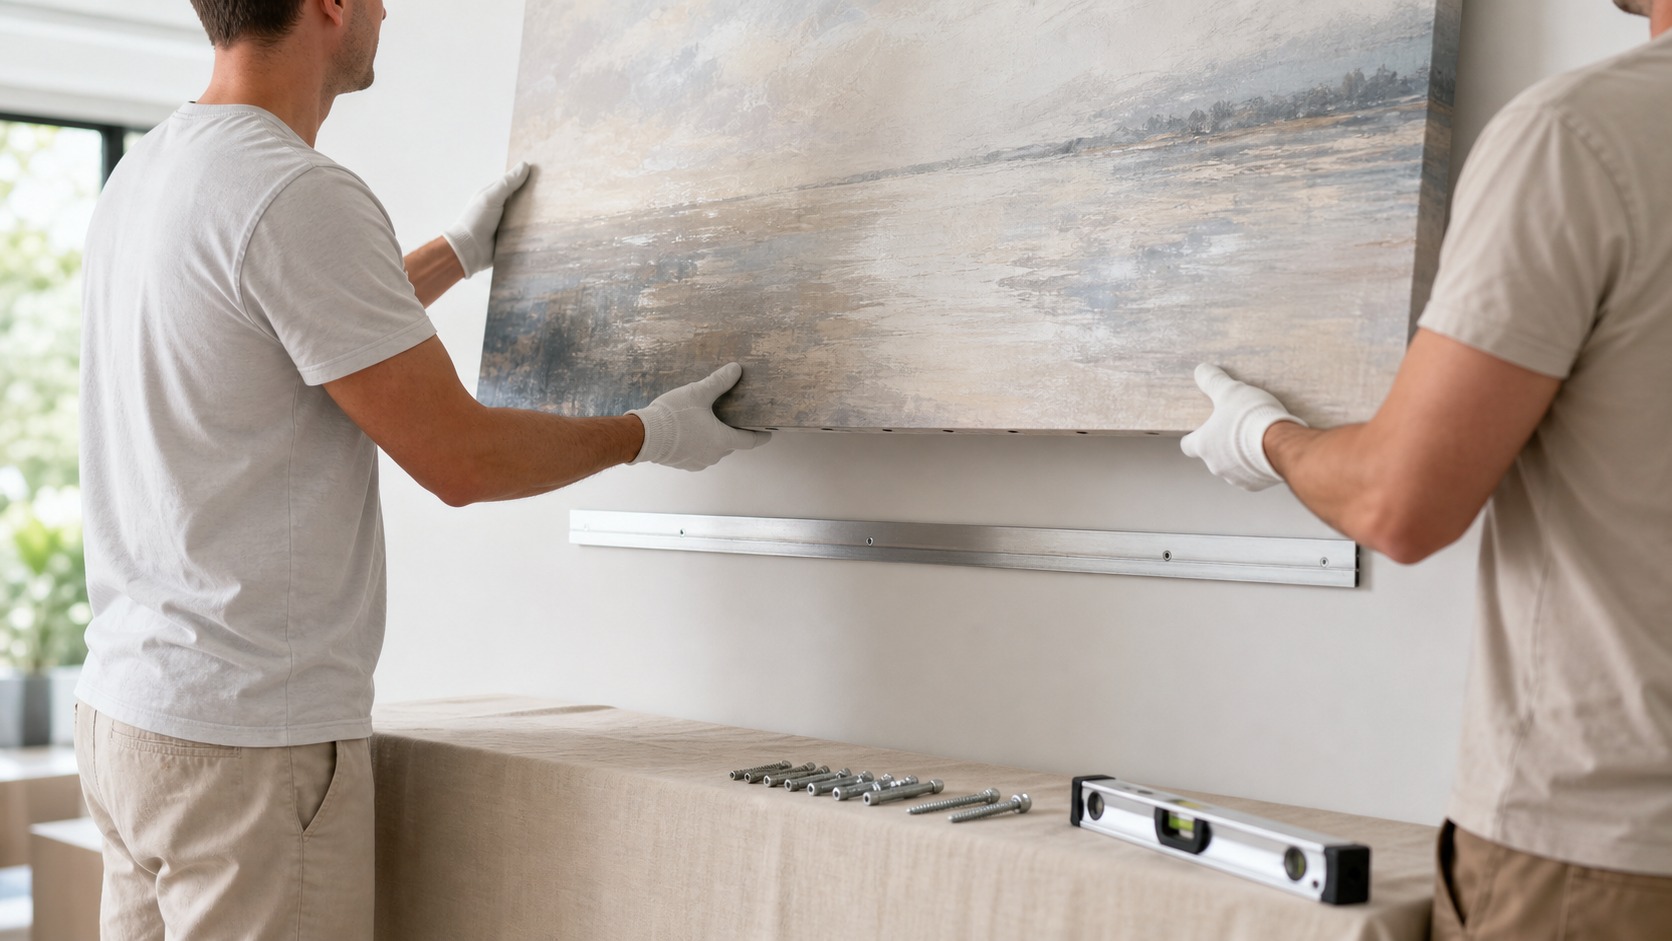
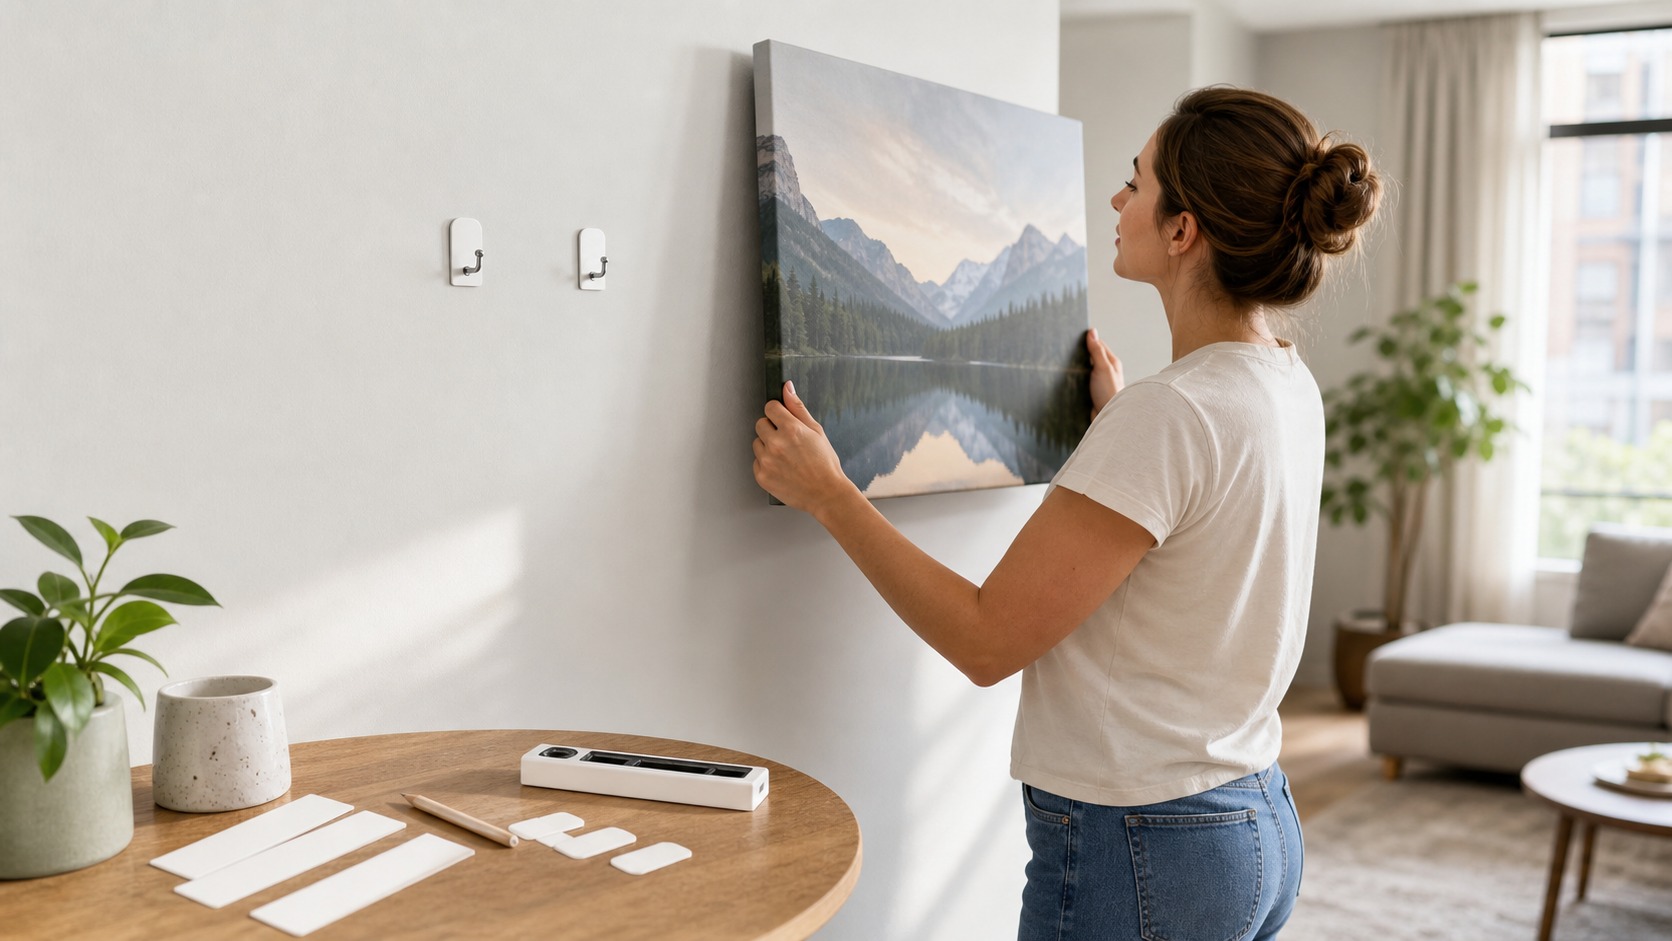
Hardware should be chosen for the actual wall and canvas, not whatever is in the nearest drawer. Drywall, plaster, masonry, wood paneling, and studs all accept fasteners differently. A small lightweight canvas may need a simple hook, while a large piece may deserve two anchors, a French cleat, or direct stud support. The wall decides part of the method.
Know the hanging hardware already attached to the canvas. D-rings, wire, sawtooth brackets, keyhole mounts, and cleats each place weight differently and each changes how the piece sits from the wall. A wire can allow adjustment, but it may tilt forward if it is too loose. A cleat can feel secure and flush but demands careful leveling.
Do not rely on the canvas weight alone. A wide canvas creates leverage, and a hallway or child's room may expose it to bumps. Use hardware rated comfortably above the load and appropriate for the wall material. Security is part of the finished look because a nervous installation never feels polished.
Groupings require an additional layer of planning. When several canvases hang together, the spaces between them should feel intentional and consistent enough to read as one arrangement. The group can be centered as a unit even if each piece has a different size. Treating the arrangement as one object prevents scattered-looking walls.
Canvas depth can affect hardware selection. A shallow canvas may sit close to the wall with simple hardware, while a deep gallery wrap may need a hanger that keeps the top from pitching forward. The side profile is part of the installation. A clean front view should not hide an awkward side angle.
Consider the negative space around the canvas as part of the composition. The empty wall above, below, and beside the print tells the eye whether the placement is calm or crowded. Professionals adjust spacing before they adjust hardware. A canvas looks better when the wall around it feels intentionally shaped.
Measure, Mark, and Level with Patience
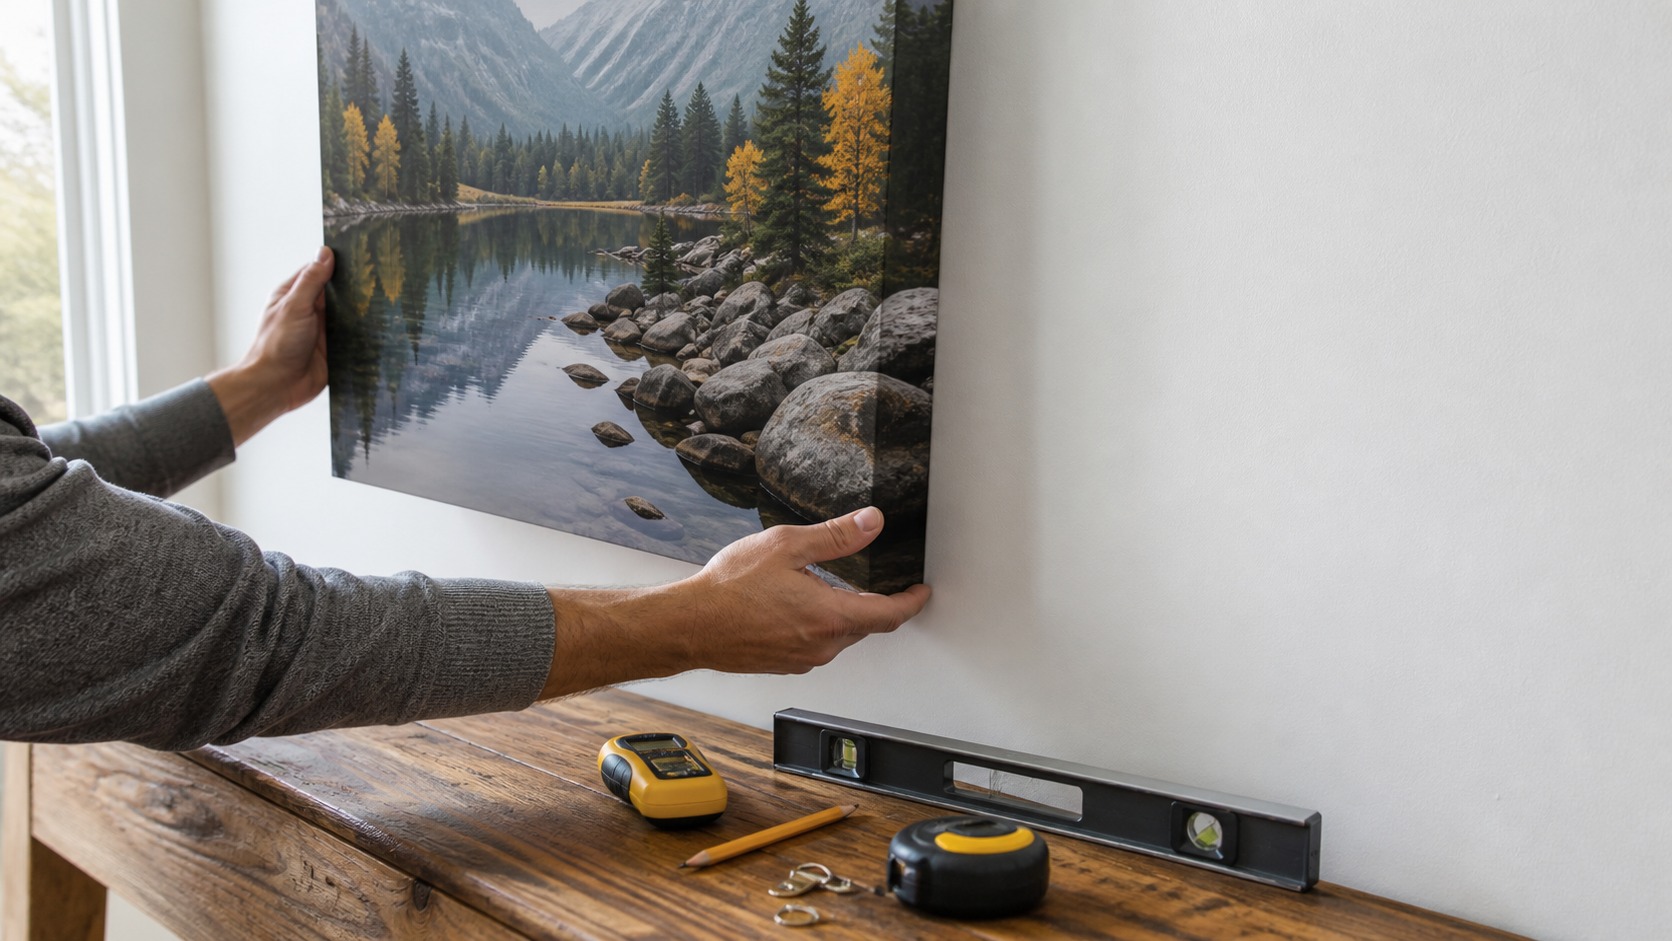
Professional hanging is patient at the marking stage. Measure the wall, the canvas, the furniture relationship, and the distance from the hanging point to the top edge. That last measurement is easy to miss and often explains why art lands too high or too low. A good mark translates the desired visual height into the actual hook position.
Use a level for the mark and for the canvas after it is hung. Walls, ceilings, and floors are not always perfectly straight, so trust the tool while also checking the room visually. Sometimes the technically level position needs tiny adjustment to look right against old trim or uneven architecture. The final judgment uses both accuracy and sight.
For wide pieces, two hanging points can prevent shifting. Mark both points from a shared level line and confirm the spacing from the canvas hardware. Rushing this step creates a piece that tilts every time someone closes a door. A stable canvas should not need constant correction.
Use painter's tape or a paper template when the canvas is large. Seeing the footprint on the wall before drilling helps confirm height and spacing. It also makes it easier to compare the art with furniture, lamps, and nearby pieces. Templates save holes because they reveal design mistakes early.
Lighting should be checked before the ladder goes away. A canvas hung perfectly in daylight may catch evening lamp glare or window reflection after sunset. If glare is severe, adjust height, angle, or lighting before committing to the final installation. The best hardware placement still needs a good viewing experience.
Use the back of the canvas as a measurement map. Note exactly where the wire reaches under tension or where D-rings sit relative to the top edge. Measuring the hardware without simulating the hanging load can place the hook slightly wrong. The more precise the back-side measurement, the cleaner the wall result.
Marking tools should be chosen with cleanup in mind. Heavy pencil lines, ink marks, and deep scratches can remain visible after the canvas shifts or comes down. Light marks, tape guides, and careful templates reduce the evidence of the process. A professional wall does not show how hard it was to solve.
Protect the Canvas During Installation
The wall is not the only thing at risk during hanging. Canvas corners can dent, wrapped edges can scuff, and hardware can scrape the back or side of the print. Set the artwork on a clean padded surface while preparing the wall. Keep tools off the canvas face.
Lift the canvas from the stretcher or side edges with clean hands. Avoid pressing the fabric center while trying to hook the wire or bracket. If the piece is large, use a second person so one person is not balancing the weight while guessing for the hanger. Awkward handling creates avoidable damage.
Add bumpers if the bottom corners tap the wall or if the piece needs a little air gap. Small bumpers can keep the canvas from shifting, protect paint, and help it sit evenly. They should be clean, discreet, and placed consistently. The finishing details separate a careful installation from a rushed one.
A helper should do more than hold weight. One person can watch level and spacing from a few feet away while the other adjusts the canvas at the wall. That outside view catches crookedness and awkward height faster than the person standing close. Good installation uses a second set of eyes when the piece is large.
During installation, keep the front surface facing away from tool belts, ladders, and loose hardware. A dropped screw or swinging level can leave a mark that no measurement will hide. The artwork should be staged outside the active tool zone until the wall is ready. Protecting the object is part of professional technique.
Avoid the Mistakes That Make Art Look Amateur
The most common mistake is hanging art too high. People often center the canvas between floor and ceiling instead of relating it to eye level and furniture. Another mistake is using hardware that technically holds the weight but allows the piece to lean, swing, or tilt. A professional-looking wall feels stable and visually grounded.
Misjudging scale is just as common. A tiny canvas above a wide sofa may look like an afterthought, while an oversized piece squeezed near trim can feel heavy. If the scale is wrong, consider grouping, moving the canvas, or choosing a different wall. Installation technique cannot rescue every placement choice.
Visible hesitation marks are another giveaway. Multiple holes, uneven patching, and smudged pencil lines draw attention away from the art. Measure calmly, mark lightly, and confirm before drilling or pressing hardware into place. The cleanest installation is often the one with the fewest attempts.
Another amateur mistake is ignoring the depth of the canvas. Deep gallery wraps cast shadows and project farther from the wall, which can affect nearby lamps, door swings, and furniture clearance. Check the side view before declaring the placement finished. Canvas is three-dimensional, not just a flat rectangle.
Relying on the ceiling line can also mislead you. Older rooms may have uneven trim or floors, and art hung to match those lines can look crooked against the furniture. Use a level first, then judge the visual relationship. Professional placement balances the tool with the room's quirks.
Avoid treating every canvas like a poster. Stretched canvas has thickness, shadow, and wrapped edges that need visual respect. Hanging it too close to another object can make it feel trapped. A professional installer leaves enough surrounding space for the object to read as intentional.
Finish with a Real Viewing Check
Once the canvas is up, step back and view it from the places where people enter, sit, and pass through the room. Check height, level, glare, furniture spacing, and whether the piece feels secure. A canvas can be mathematically centered and still feel slightly wrong from the doorway. The final adjustment should serve the lived room.
Let the installation settle for a day before deciding it is perfect. Some hardware shifts slightly, and your eye may notice a better relationship once the room is used normally. If the canvas remains level, stable, and visually connected, the installation has done its job. Professional hanging disappears into confidence.
Keep the hardware information for future moves. Knowing anchor type, spacing, and weight rating makes rehanging easier after painting, redecorating, or moving homes. Good installation leaves a record as well as a clean wall. That record turns the next project into a calmer one.
After installation, gently test whether the piece can shift under normal room movement. The test should be light, not rough, and it should reveal whether bumpers or a second support point are needed. A canvas that wobbles every time the wall vibrates will never feel fully finished. Stability is part of visual polish.
If the first placement feels wrong, resist the urge to keep adding holes around the same area. Take the canvas down, revisit the template, and decide whether the wall or scale is the real issue. A professional result sometimes comes from choosing a different spot. Better judgment beats stubborn hardware.
The final photo test is surprisingly useful. Take a straight-on picture of the wall and look at it briefly. Crooked lines, awkward spacing, and high placement often jump out in a photo because the room becomes flatter. If the image looks right there and in person, the installation is likely strong.
If the canvas is part of a larger decorating plan, wait to hang it until rugs, lamps, and major furniture are in place. Those elements change the perceived center and height of the wall. Art installed too early may need to move later. Sequencing the room prevents extra holes and better supports the final composition.
A final handoff matters when someone else will live with the installation. Explain which hardware was used, whether the canvas can be lifted straight off, and how to clean around it without shifting the piece. Professional work should be understandable after the installer leaves. That clarity protects the wall and the art later.