Wall-Safe Hanging Is About Weight, Surface, and Reversibility
Hanging canvas prints without damaging walls is possible when the method matches the print weight, wall surface, rental rules, and how long the art needs to stay in place. Canvas is often lighter than framed glass, which opens the door to lower-impact options, but the wall still has to carry the load safely. The best approach avoids unnecessary holes without pretending every adhesive strip can handle every canvas. A damage-conscious installation should protect the wall, keep the print level, and let the room look finished rather than temporary.
A: Yes, if it is light enough and the wall suits adhesive products.
A: No. Texture, weak paint, wallpaper, moisture, and weight can cause problems.
A: Yes, a clean small hole can be safer than failed adhesive.
A: Use approved removable products or small permitted hooks and document the wall.
A: Paint condition, removal angle, surface prep, or excess load may be responsible.
A: Only if the product and wall are rated for that load with margin.
A: Use balanced supports, bumpers, and hardware suited to the canvas width.
A: Avoid heat and direct sun, especially when using adhesive systems.
A: Clean bumpers and stable hardware reduce rubbing and tapping.
A: Use the least invasive method that still feels genuinely secure.
Start by Weighing the Canvas and Reading the Wall
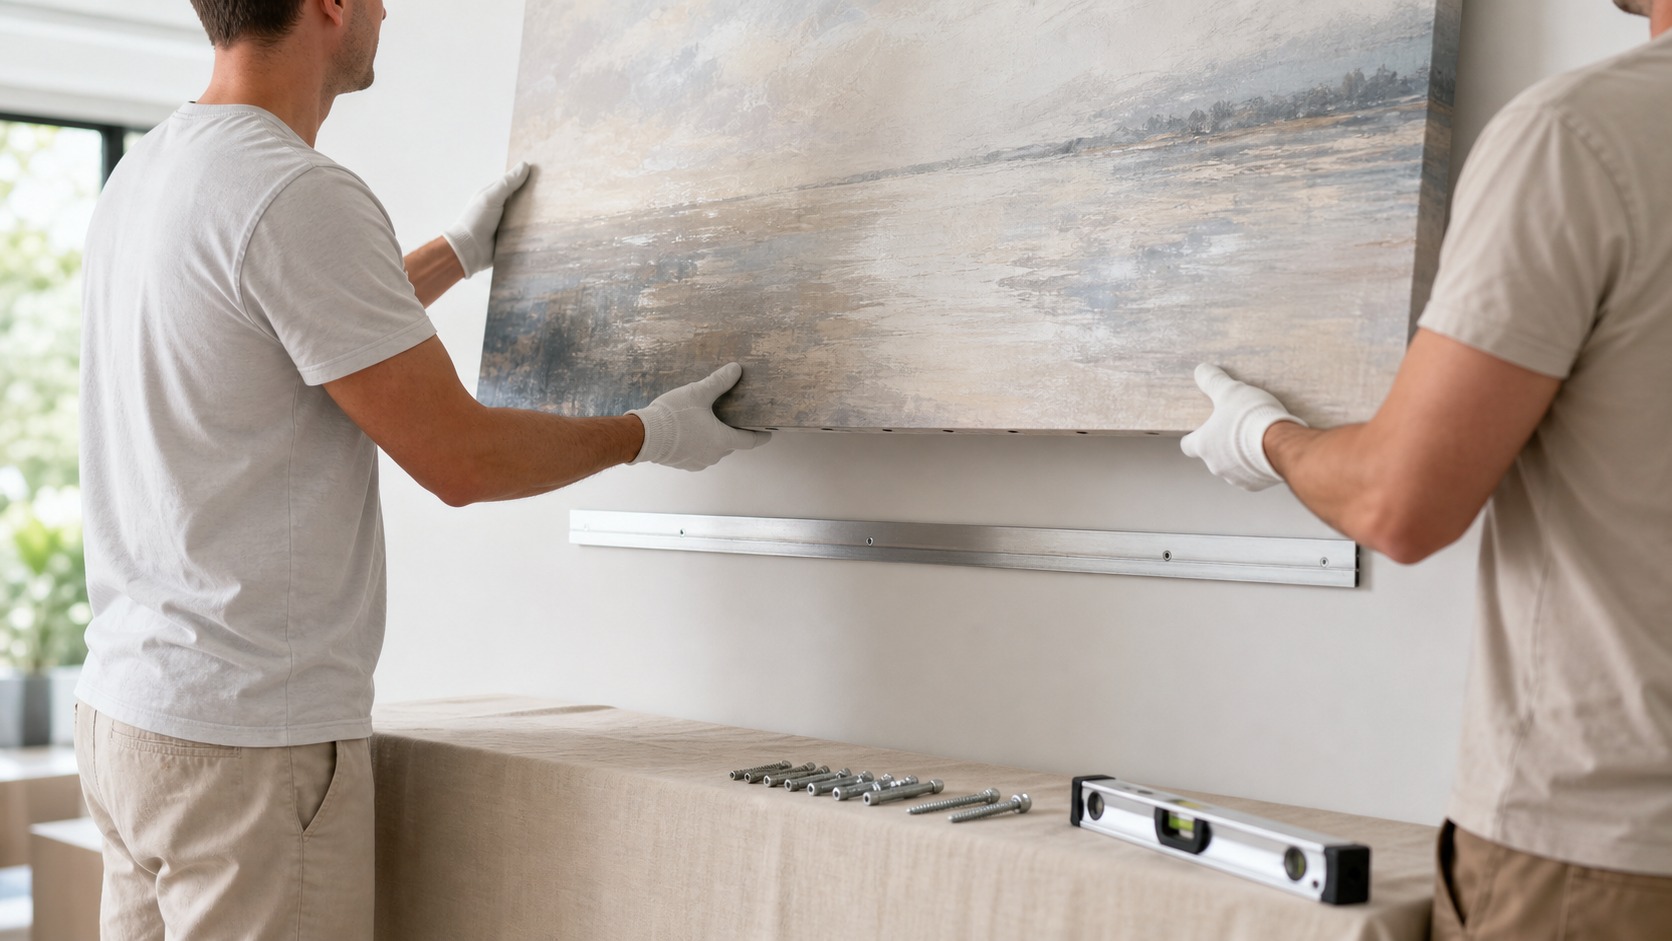
The right low-damage method begins with weight. A small lightweight canvas may work well with removable strips or small hooks, while a large stretched piece may need anchors, studs, or a cleat despite the desire to avoid holes. Guessing based on size alone is risky because frame depth, stretcher material, and added hardware change the load. Know what the wall must hold.
Wall surface matters just as much. Smooth painted drywall behaves differently from textured plaster, brick, paneling, wallpaper, or freshly painted walls. Adhesives need a clean compatible surface, while hooks and anchors need material that will hold without crumbling. A wall-safe method is safe for that specific wall, not just safe in theory.
Consider the room's activity. A canvas in a quiet bedroom faces less bumping than one in a hallway, playroom, or stair landing. Low-damage hardware still needs enough stability for real life. If the print will be touched or brushed often, choose security over minimalism.
Wall damage is not only holes. Paint sheen changes, adhesive residue, corner rubbing, and small dents can be just as annoying when the canvas comes down. A damage-conscious plan looks at the whole life of the installation, including removal. The exit should be as calm as the hanging day.
The back of the canvas can decide whether a removable method works. Some pieces have recessed hardware that sits poorly on flat hooks, while others have wire that does not pair well with adhesive strips. Inspect the back before buying supplies. Wall protection begins with compatibility between art and hanger.
Surface cleaning before adhesive use should be gentle and compatible with the wall finish. Strong cleaners can dull paint or leave residue that affects bonding. A mild dry wipe or product-approved preparation is usually enough. The wall should be clean, dry, and stable before anything tries to stick to it.
Use Removable Solutions Where They Truly Fit
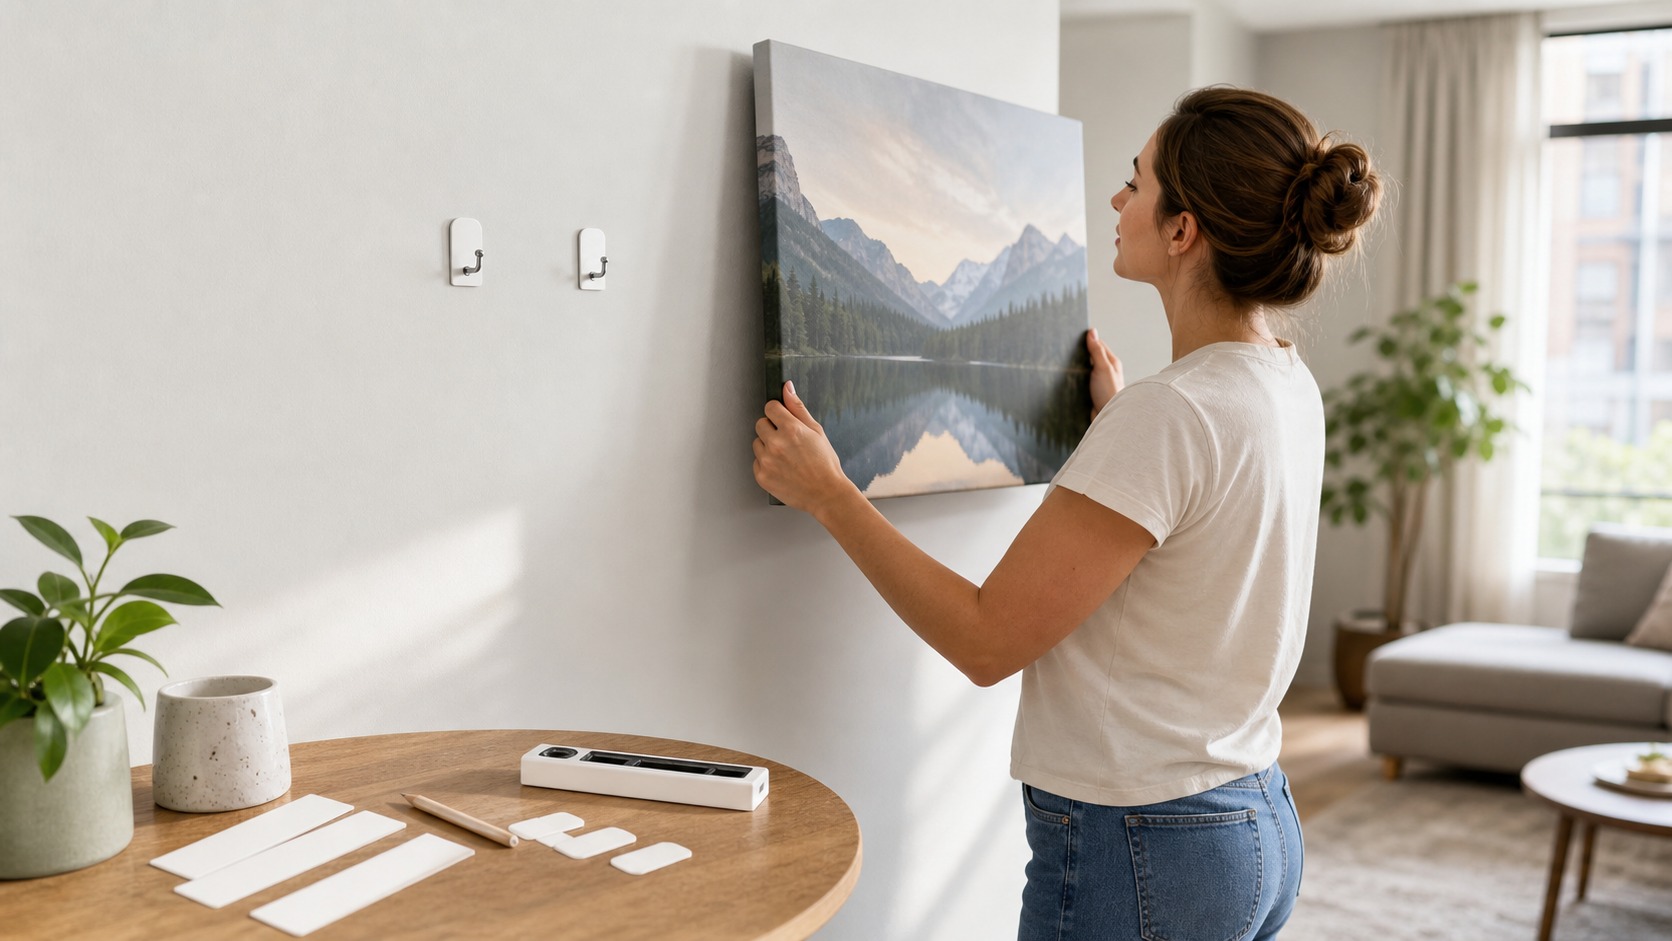
Removable adhesive strips can be useful for lightweight canvas prints on clean, smooth, properly cured painted walls. They work best when the canvas is not too deep, heavy, or exposed to heat, humidity, or repeated impact. Follow the product's surface preparation and wait-time instructions carefully. Most failures come from treating adhesives as stronger or more universal than they are.
Removable hooks may suit small canvas pieces with appropriate hanging hardware. They can reduce wall holes, but they still need a flat bond and enough rated capacity. Use multiple supports only when the system allows it and the load is balanced. Adding more adhesive randomly does not automatically make an installation safer.
Avoid adhesive methods on delicate wallpaper, unstable paint, damp walls, heavily textured surfaces, or valuable art that would be costly to replace. The promise of no holes is not worth a fallen print or peeled finish. Low damage includes preventing crashes. Sometimes a tiny well-placed hole is the less damaging choice.
Fresh paint deserves special patience. Even paint that feels dry may not be cured enough for adhesive products, and pressure from bumpers or hooks can leave impressions. Waiting before hanging art can prevent problems that look mysterious later. The wall surface needs time to become ready.
If a low-damage method feels uncertain during installation, stop before adding the artwork. Test the hardware without risking the canvas, review the rating, and consider a more secure option. A fallen canvas can damage the wall more than the careful hardware you were trying to avoid.
Temperature can affect removable products too. A wall warmed by sun or cooled by an exterior draft may not hold adhesive as predictably as a stable interior wall. Consider where the canvas will live during the hottest and coldest parts of the day. Product ratings assume reasonable conditions.
Adhesive methods also need pressure during installation. Pressing a strip lightly and immediately loading it with a canvas can weaken the bond. Follow the timing and pressure instructions because the adhesive needs a chance to settle into contact with the wall. Patience is part of the hardware system.
Make Small Holes Smarter When Holes Are Necessary
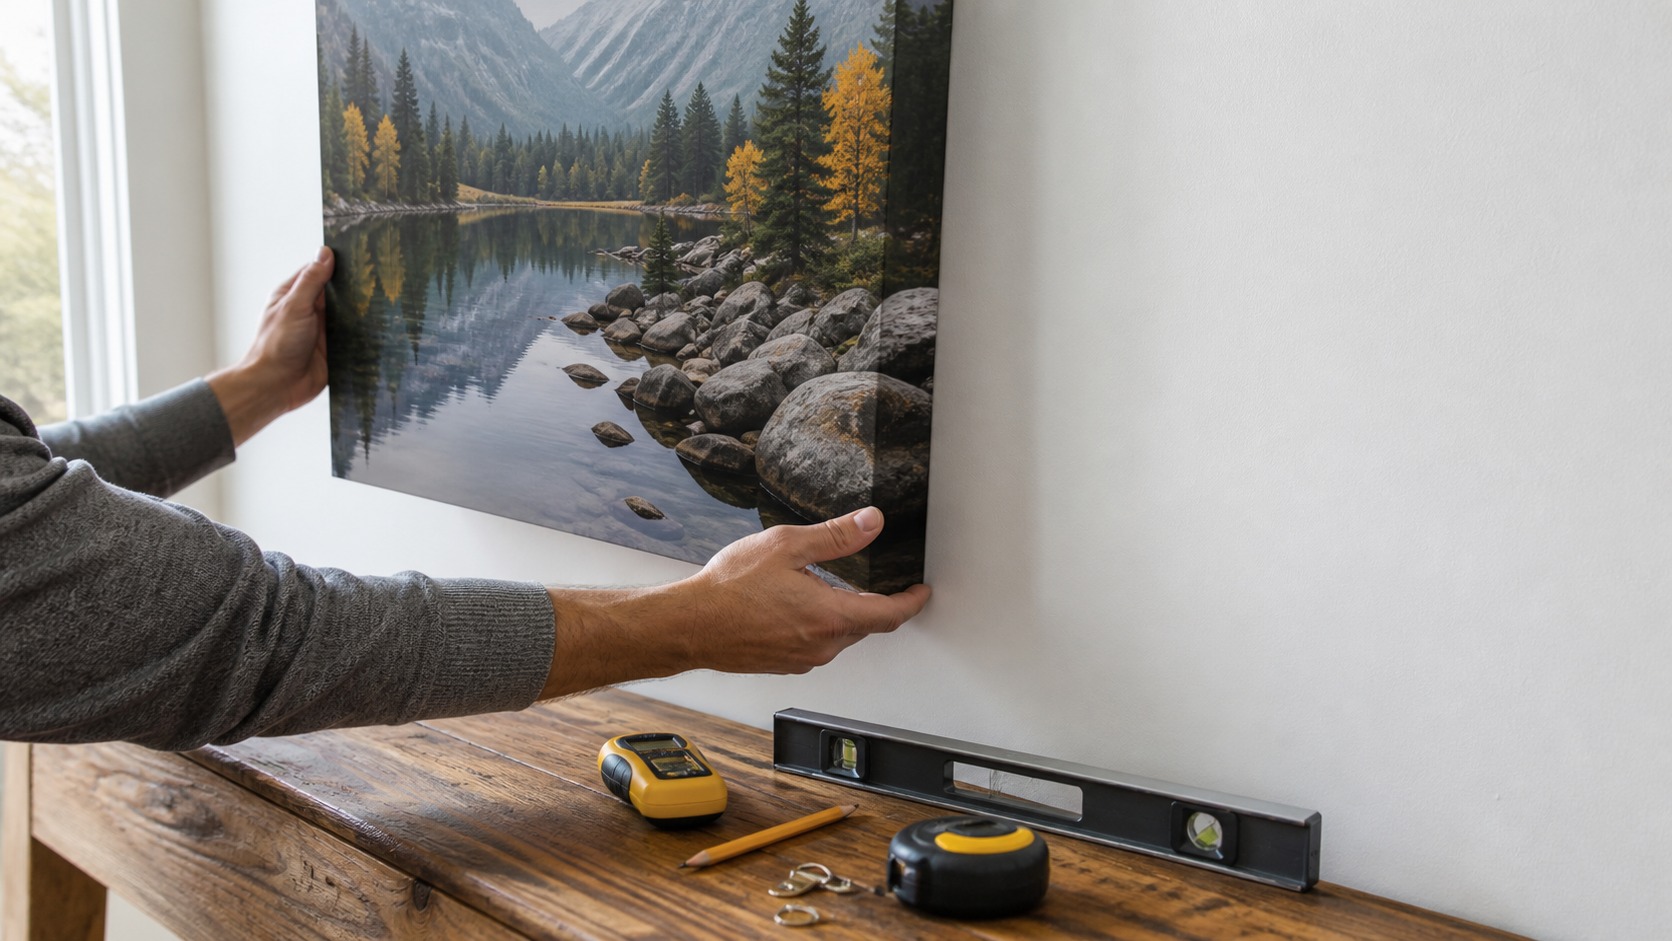
Not every wall-safe installation is hole-free. A small picture hook or correctly chosen anchor can create less long-term trouble than an adhesive that fails or tears paint during removal. The key is using the fewest appropriate holes in the right places. Clean planning reduces patching later.
Use hardware sized for the canvas and wall type. A lightweight hook can leave a small mark while still holding securely when installed correctly. For heavier pieces, a stud or proper anchor may be more responsible than a no-hole workaround. Wall preservation should not come at the cost of safety.
Mark lightly and measure carefully before making any hole. Multiple abandoned holes are what make a wall look damaged. Paper templates, painter's tape, and a level help confirm placement before hardware goes in. The neatest repair is the one you never need.
Small-hole methods also make sense when the canvas will hang for years. A clean hook hidden behind the artwork may be easier to patch later than replacing strips every time the wall warms or the room changes. Duration matters. Temporary and long-term hanging do not always call for the same solution.
If you choose a small hole, choose its location as if you may need to patch it later. Avoid placing hardware where patched paint will catch strong side light or where trim makes sanding awkward. A hidden hole behind the canvas is best during display; an easy repair location is best after removal. Think through both moments.
For small-hole hardware, choose quality over improvisation. A proper picture hook creates a predictable puncture and holds at a known angle. A random nail may bend, enlarge the hole, or let the canvas slide. The right small piece of hardware can reduce both visible damage and risk.
Protect Paint During Installation and Removal
Paint damage often happens before the canvas is even hung. Dirty hands, dragged hardware, leaning corners, and rushed measuring can leave scuffs. Set tools on a table, use clean hands, and keep the canvas edge from scraping the wall while positioning it. A careful installation protects both print and paint.
If using adhesive strips, surface preparation and removal are critical. The wall should be clean and dry, the paint should be fully cured, and the strip should be pulled in the correct direction during removal. Yanking outward can peel paint even when the product is designed to release. Patience is part of the no-damage method.
Bumpers can help protect paint after installation. Small clean bumpers on the lower corners keep the canvas from rubbing or tapping the wall. They also help the print sit evenly and reduce shifting. A tiny finishing detail can prevent months of abrasion.
Wall texture should guide expectations. Adhesive may touch only the high points of an orange-peel or knockdown surface, reducing grip and making removal unpredictable. A hook or anchor may create a smaller, more controllable repair. The least visible method is not always the least damaging one.
Adhesive pads and bumpers should be clean and fresh. Old pads can lose strength, collect dust, or leave residue that behaves unpredictably. Do not reuse strips from a previous installation. The cheapest part of the system should not be the reason a wall or print gets damaged.
Use both hands when placing the print onto low-damage supports. A crooked first contact can force you to peel and reset hardware, which increases wall risk. Align carefully, breathe, and set the canvas down once. Slow placement protects the finish.
Protecting the canvas helps protect the wall too. If the print is hard to control while being placed, corners may scrape paint or tools may bump the surface. Clear the table, remove obstacles, and rehearse the lift before committing. Calm handling prevents the accidental marks people blame on hardware.
Keep Canvas Level Without Overbuilding
Low-damage hanging often struggles with level stability. A single adhesive hook or loose wire can let the canvas drift after doors close or people walk by. For wider pieces, two balanced supports can reduce rotation if the hardware is suitable. The goal is a wall-friendly installation that still behaves like a finished one.
Check level after the canvas has been up for a while. Adhesives may settle, wire may shift, and bumpers may compress slightly. A quick follow-up prevents a small tilt from becoming the normal view. Damage-free does not mean attention-free.
Avoid overcorrecting with extra random hardware. If the method cannot hold the canvas cleanly, change the method instead of piling on patches and strips. A simpler stronger system often protects the wall better than a complicated weak one. Restraint keeps the installation tidy.
For pairs or sets, low-damage hanging needs extra consistency. If one canvas drifts lower than the other, the wall looks careless even if no holes were made. Use a shared level line and equal support spacing. A clean wall still needs a clean visual arrangement.
A level canvas also protects the wall visually. When art tilts, people tend to nudge it repeatedly, and those small corrections can rub paint behind lower corners. Stable support reduces touching after installation. Less adjustment means less wall wear.
A low-damage installation should be easy to inspect. If the hardware is hidden but unreachable, you may not notice loosening or adhesive failure until the canvas shifts. Choose a method that allows occasional checks without pulling the artwork off the wall repeatedly. Maintenance should not create new damage.
Choose the Least Damage That Still Feels Secure
The best method is the least invasive one that can honestly support the canvas in that room. For a small print on smooth painted drywall, removable strips may be perfect. For a large canvas over a sofa, two well-placed hooks or a cleat may be wiser. The wall and artwork both deserve a method that fits reality.
Rental rules add another layer. If holes are restricted, document the wall condition, use approved removable products, and avoid hanging valuable pieces in high-risk spots. If small nail holes are allowed and easy to patch, they may be more reliable than adhesives. Read the lease and match the method to the actual tolerance.
A good wall-safe installation should feel calm once it is finished. The canvas sits level, the paint is clean, the hardware is hidden, and removal will not become a crisis. That balance is more important than claiming a method is completely damage-proof. Responsible hanging is honest about tradeoffs.
Removal deserves its own plan before installation begins. Keep product instructions, know the direction of release, and avoid removing adhesive when the wall is cold or damp. Slow removal gives paint and adhesive the best chance to separate cleanly. A no-damage promise depends on the final step.
When moving out, repair should be modest because the installation was modest. Save paint names if available, remove hooks carefully, and photograph the wall after cleanup. A thoughtful hanging method makes the end of the lease less stressful. Good wall care pays off twice.
Damage-free hanging is most successful when the artwork is not oversized for the method. A large statement canvas may simply deserve real hardware, even in a rental. That does not mean the wall must be ruined. It means the smallest responsible intervention beats a risky workaround.
The final decision should feel boringly secure. If you keep wondering whether the canvas will fall, the method is not finished. Upgrade the hardware, choose a safer wall, or use a different display style. Peace of mind is part of protecting both artwork and wall.
For very temporary displays, consider leaning small canvas art on a shelf or picture ledge if the room allows it. That can avoid wall contact while still looking intentional, provided the piece is stable and protected from bumps. Not every canvas has to be hung directly. Sometimes the least damaging method is a different display format.