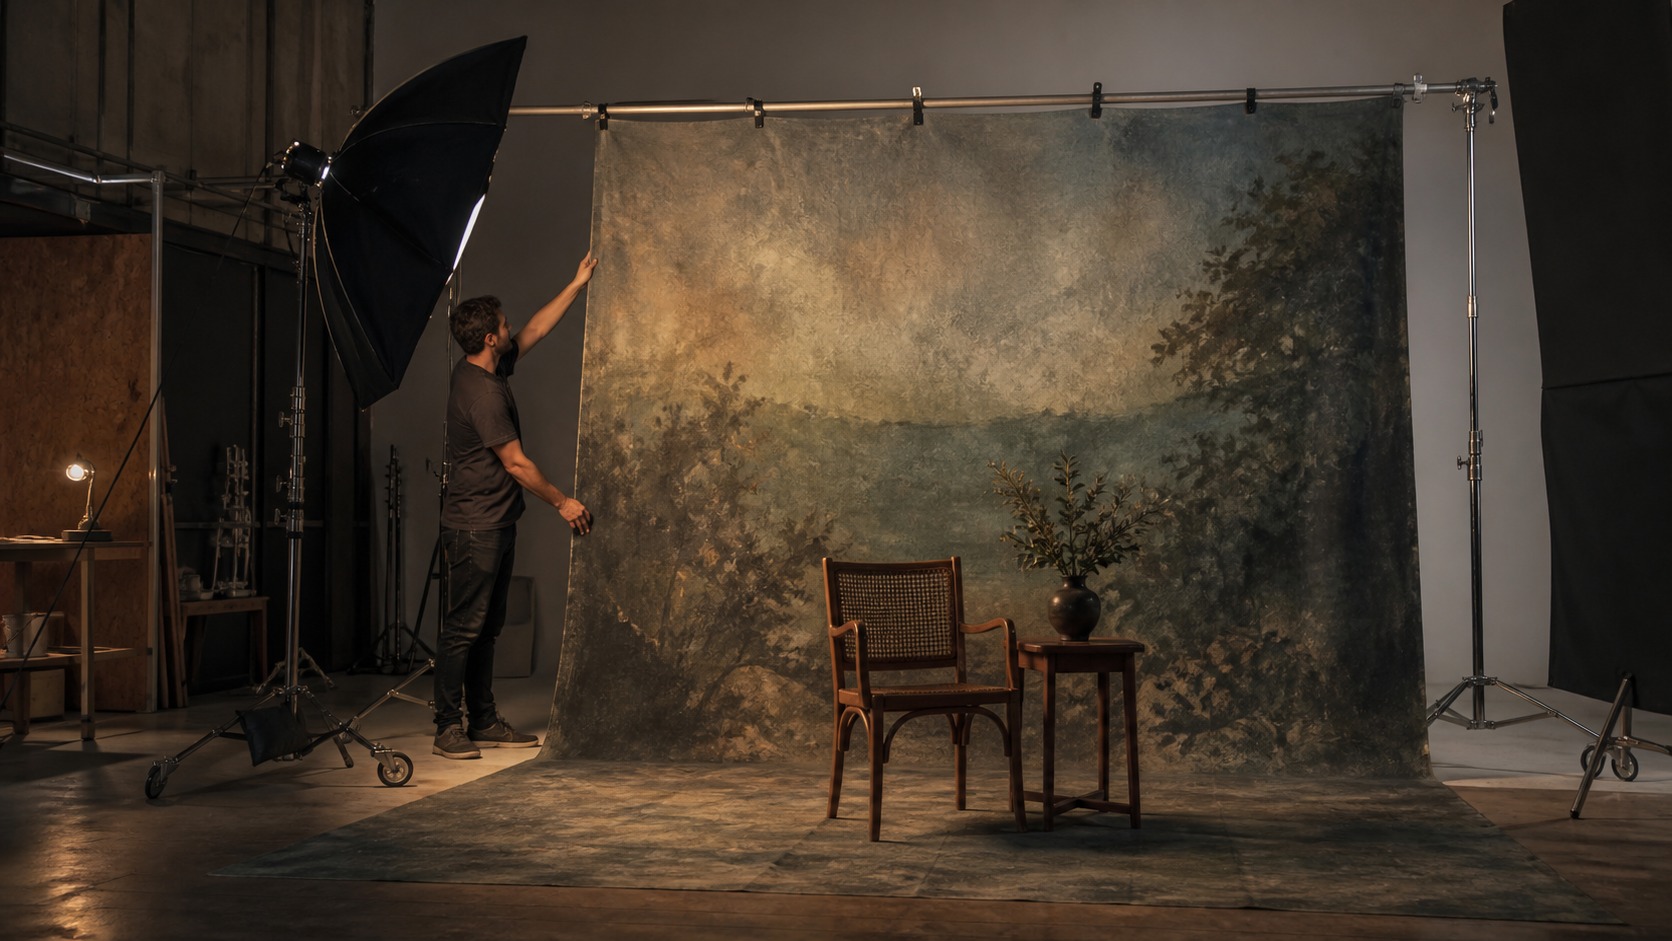
Professional Canvas Backdrops Start with Planning, Not Paint
Making a professional canvas backdrop from scratch is less about improvising a pretty surface and more about building a reliable production tool. The finished backdrop has to hang safely, photograph cleanly, survive handling, and support the scene without distracting from the subject. Good results come from choosing the right canvas weight, sizing the drop generously, preparing the surface, layering color with restraint, and testing it under real lighting. When each step is planned before the first brush mark, the backdrop feels intentional instead of homemade.
A: Yes, if planning, surface prep, restraint, and testing are taken seriously.
A: Start from the widest practical frame or stage view, then add extra coverage.
A: No, support and edge treatment should be planned before painting begins.
A: Durability and compatibility matter more than price alone.
A: Yes, if it has enough sweep length and can handle foot traffic safely.
A: Use layered values, controlled texture, and real camera or stage tests.
A: Only after testing sheen, flexibility, glare, and color shift.
A: Yes, especially when the design avoids overly specific details.
A: Folding, damp storage, rushed rolling, and unsafe handling.
A: It hangs safely, lights cleanly, and supports the subject without distraction.
Define the Use Before Buying Canvas
Start by naming the backdrop's real job. A portrait studio texture, theater drop, film interior, product background, and fashion editorial surface all demand different levels of detail and durability. That purpose controls size, material, color, rigging, and finish. Skipping this decision is how good-looking backdrops become awkward on set.
Viewing distance should guide the detail level. A theater audience needs broad value shapes and clear atmosphere, while a portrait camera can reveal subtle mottling, seams, and brush texture. Film sits somewhere in between depending on lens and focus. Design for the audience that will actually see the backdrop.
Movement also changes the requirements. A backdrop behind a seated interview can be quieter and smaller than one used for dancers, actors, full-body portraits, or wide establishing shots. Allow room for people to move without revealing edges. Professional scale is often more generous than the first sketch suggests.
Budget should include more than fabric and paint. Primer, floor protection, rollers, brushes, clamps, pipe, storage tubes, fire treatment, and repair materials all affect the final cost. A cheap material choice can become expensive if it fails during production. Plan the whole system, not only the painted image.
References are useful when they describe mood rather than dictate a copy. Collect examples of texture, palette, age, weathering, and light behavior, then translate those qualities into the production's own world. A professional backdrop should not look like a borrowed image enlarged onto canvas. It should feel designed for its use.
Preproduction questions should be answered in writing. Note the largest frame, the expected viewing distance, the type of lighting, and whether people will touch or walk on the canvas. These details keep the project from drifting once painting begins. A written brief makes craft decisions faster.
Choose Canvas, Size, and Support
Material weight determines how the backdrop hangs. Heavy canvas can look substantial and resist flutter, but it requires stronger support and careful handling. Lighter canvas is easier to move and store, yet it may wrinkle or show tension marks more readily. Choose the fabric according to the job and crew capacity.
Pre-shrunk or properly prepared canvas is safer for painted work. Raw canvas can tighten, loosen, or absorb unevenly when primed and painted. Testing a small piece helps reveal how the fabric responds to moisture and pigment. Material behavior should be known before the full drop is started.
Size should be based on the widest intended frame. Add extra width and height for cropping, movement, stands, floor transition, and future reuse. A backdrop that barely fits one setup will limit every later decision. Professional backdrops usually include room for adjustment.
Support choices should be made before painting begins. Grommets, pole pockets, clamps, battens, or pipe systems each affect the top edge and weight distribution. If the hanging method is added as an afterthought, the finished surface can sag or tear. Rigging is part of the design.
Floor sweeps need extra length and planning. If the canvas will curve onto the floor, the transition must be gradual enough to avoid a hard crease behind the subject. Full-body photography and stage movement reveal short sweeps quickly. The ground plane should be included from the start.
Storage diameter matters more than many beginners expect. Rolling a large painted canvas on a narrow core can create tight memory lines that show under light. Use a broad tube or pipe when the backdrop will be reused. Good storage begins before the backdrop is finished.
Seams should be placed where they will not become the star. If a large backdrop needs joined fabric, keep seam behavior in mind before the design is painted. Texture, lighting, and camera angle can all reveal a seam more strongly than expected. Professional planning hides necessary construction.
Prepare the Surface for Paint or Print
Preparation determines whether the surface accepts color evenly. Dust, loose threads, sizing differences, and uneven primer can all become visible after the backdrop is lit. Stretch or secure the canvas before priming so the fabric behaves predictably. Professional surfaces begin with boring discipline.
Primer should match the intended finish. A portrait backdrop may need a soft absorbent ground, while a scenic theater drop may need durability and stronger color holdout. Too much primer can make canvas stiff, and too little can create blotchy absorption. Test before committing to the full surface.
Edges need protection during the work process. Frayed sides, weak corners, and paint buildup near hanging points can create problems later. Hem, tape, bind, or reinforce as the project requires. The perimeter is part of the backdrop's working life.
Color tests should be viewed dry. Wet paint often looks richer or darker than the finished surface, especially on absorbent canvas. Let samples dry completely under the intended light before scaling up. A professional finish depends on patience.
Texture should be intentional rather than accidental. Sponges, rags, rollers, brushes, spray, and glazes can all create useful surfaces, but random marks may look messy under camera scrutiny. Build a small vocabulary of marks before covering the whole canvas. Controlled irregularity is the goal.
Workspace setup affects quality. A clean floor, protected table, good ventilation, reachable tools, and enough walking room help prevent smears and footprints. Large canvas magnifies small handling mistakes. Organize the shop before the paint opens.
Test strips can prevent full-scale regret. Prime, paint, glaze, dry, bend, and light a small piece before treating the final canvas. The sample may reveal stiffness, shine, blotching, or a color shift. A few hours of testing can protect an entire scenic build.
Absorption maps are useful on large cloth. Mark areas that drink primer quickly, resist paint, or dry with unexpected edges so later layers can be adjusted. Uneven behavior is easier to manage when it is known early. Surface knowledge makes the final backdrop calmer.
Build Depth with Layered Color
Layering gives a backdrop professional depth. Start with broad value fields, then add variation, atmosphere, and softened transitions before final accents. Jumping to detail too early can make the surface busy and shallow. The first layers should establish the world.
Value structure matters more than color complexity. A backdrop that holds together in light and dark will remain useful under different lamps and lenses. If the values are confused, beautiful color will not rescue the image. Squinting at the canvas is a simple but reliable test.
Glazes and scumbles can create age, air, or weather. Thin layers let earlier color show through, while dry brushing can catch the weave and suggest worn plaster, mist, or distant texture. These effects should support the production mood. Technique is strongest when it does not call attention to itself.
Avoid placing too much detail where the subject will stand. A high-contrast mark behind a face, product, or actor can steal focus immediately. Keep the central working area flexible unless the composition specifically needs a feature there. Backgrounds should serve foreground action.
Color temperature creates emotional direction. Warm undertones can feel intimate or aged, while cooler layers may feel distant, modern, or quiet. Subtle shifts are often more useful than large blocks of saturated color. Backdrop color should leave room for lighting design.
Final accents should be sparse. A few sharp marks, scratches, highlights, or dark passages can make the surface feel complete, but too many can lock the backdrop into one narrow use. Professionals often preserve flexibility. The most reusable canvas usually has restraint.
Subject placement should be mapped onto the surface. Mark where faces, products, furniture, or actors are most likely to appear, then keep those areas flexible and controlled. Busy marks can live nearer the edges or in shadowed zones. The backdrop should leave room for performance.
Finish, Cure, and Test Under Real Light
Drying time should be respected before rolling or hanging. Paint that feels dry on the surface may still be vulnerable to pressure, sticking, or transfer. Follow the material requirements and allow extra time when humidity is high. Rushing the finish can ruin days of work.
Protective coatings should be chosen carefully. A sealer may improve durability, but it can also add glare, stiffness, color shift, or uneven sheen. Test coating on a sample with the same paint layers. Durability should not create a lighting problem.
Camera testing is essential for photo and film use. Shoot the backdrop with the intended lens, lighting direction, subject distance, and exposure. Look for wrinkles, hotspots, distracting marks, and color casts. The camera is the final judge.
Stage testing should happen from the seats. Subtle texture may disappear under stage light, while large marks may become too dominant in a small venue. Walk the auditorium if possible and check several positions. The backdrop belongs to the audience, not the paint table.
Adjustment is part of the process. Add softening layers if contrast is too strong, deepen edges if the surface feels flat, or reduce shine if lamps catch the finish. Small corrections can make a backdrop look far more professional. Testing should lead to action.
Documentation helps future repairs. Record paint colors, mixing notes, coatings, hanging method, and setup photos. When a corner scuffs or the surface needs extension, those notes save guesswork. A professional backdrop should be maintainable.
A final still-photo check can reveal problems before the production does. Photograph the canvas wide, medium, and close under the planned light. Wrinkles, shine, and distracting accents become easier to see in a frame. The test image is a practical quality-control tool.
Ventilation and cleanup deserve attention too. Primers, coatings, adhesives, and some paints need safe airflow and careful disposal. A professional-looking backdrop should not come from a careless workspace. Good shop practice protects both the crew and the finished surface.
Store and Reuse the Backdrop Properly
Storage can preserve or destroy the finished work. Roll the canvas around a suitable core, protect the painted surface, and keep it dry and away from pressure dents. Never fold a painted backdrop unless the material and finish were designed for it. Creases are harder to hide than many people expect.
Handling rules should be shared with the crew. Clean hands, gloves for delicate surfaces, two-person lifting, and clear floor space prevent most avoidable damage. A backdrop is scenery, but it is also equipment. Respecting the object keeps it useful.
Repairs should be tested under light. A patched scuff may disappear in normal room light and flare under a sidelight or camera exposure. Blend repairs with the same texture and value behavior as the surrounding area. Invisible repair depends on viewing conditions.
Reuse works best when the backdrop remains flexible. A surface with balanced texture and restrained detail can support portraits, interviews, product scenes, and theatrical moments with different lighting. Overly specific imagery may look impressive once and limiting afterward. Designing for reuse often means designing with discipline.
Ultimately, a professional canvas backdrop feels dependable. It hangs well, photographs cleanly, supports the scene, and survives normal handling without constant rescue. The craft is visible in the lack of problems. From scratch does not mean casual; it means every choice is yours to control.
Reusable backdrops benefit from a simple condition log. After each shoot or performance, note scuffs, repairs, stains, and storage changes. Small damage is easier to fix before it becomes part of the next production. Maintenance keeps the canvas professional over time.