Canvas Cleaning Should Be Gentle, Dry, and Deliberate
Cleaning canvas art is less about making the surface spotless and more about protecting the print while removing the dust it can safely lose. A stretched canvas is a layered object: fabric, ground, ink or pigment, protective coating, stretcher bars, and sometimes delicate wrapped edges all respond differently to pressure and moisture. The safest approach starts with observation, uses the lightest dry contact that works, and stops before a small mark becomes a permanent cleaning scar. With canvas, restraint is not timid; it is the professional habit that keeps color, texture, and fabric tension intact.
A: Usually avoid it unless the printer gives specific coating instructions.
A: A clean dry microfiber cloth or very soft brush is safest.
A: Only with extreme caution near the surface; suction can be risky.
A: Every few months is enough for many clean indoor rooms.
A: Do not scrub; ask the printer or a conservator for guidance.
A: Yes, if you can do so safely and support the frame well.
A: No. Direct sun adds fading and heat risk.
A: Yes, but use the same gentle dry method.
A: Stop immediately and reassess under softer light.
A: When the stain, value, or surface instability makes guessing risky.
Inspect the Surface Before Touching It
Begin by looking at the canvas in indirect light rather than under a harsh lamp. Angled glare can exaggerate dust, but it can also reveal scratches, lifting coating, dents, loose fibers, or tacky spots that should not be rubbed. If the surface looks cracked, sticky, flaking, or cloudy, cleaning should pause until the print maker or a conservator can advise you. Ordinary dust is a home-care problem; unstable material is not.
The back and edges matter too. Dust often collects along the top stretcher edge, inside the lower lip, and on wrapped corners where hands touch during hanging. Those areas can usually be cleaned more safely than the printed face, but they still deserve careful handling. Support the canvas from the frame, not by pressing fingers into the fabric panel.
A quick inspection also tells you whether the mark is actually dirt. A tiny white nick, rubbed coating, or production blemish will not disappear with more wiping. Recognizing that difference prevents the common mistake of chasing a permanent mark until the surrounding finish becomes damaged.
A useful cleaning routine also protects the wall area around the canvas. Dust on the upper frame can fall behind the piece and collect on paint, especially if the canvas is rarely moved. Wiping the wall nearby with a separate household cloth before rehanging keeps the artwork cleaner without touching the print more than necessary.
Fragrance is another overlooked warning sign. If a cloth, wipe, or cleaner carries perfume, oil, or detergent residue, it does not belong on the image surface. Canvas coatings can hold odors and residues in a way glass would not. Neutral, dry, and clean is the safer standard.
Use Dry Tools Before Considering Anything Else
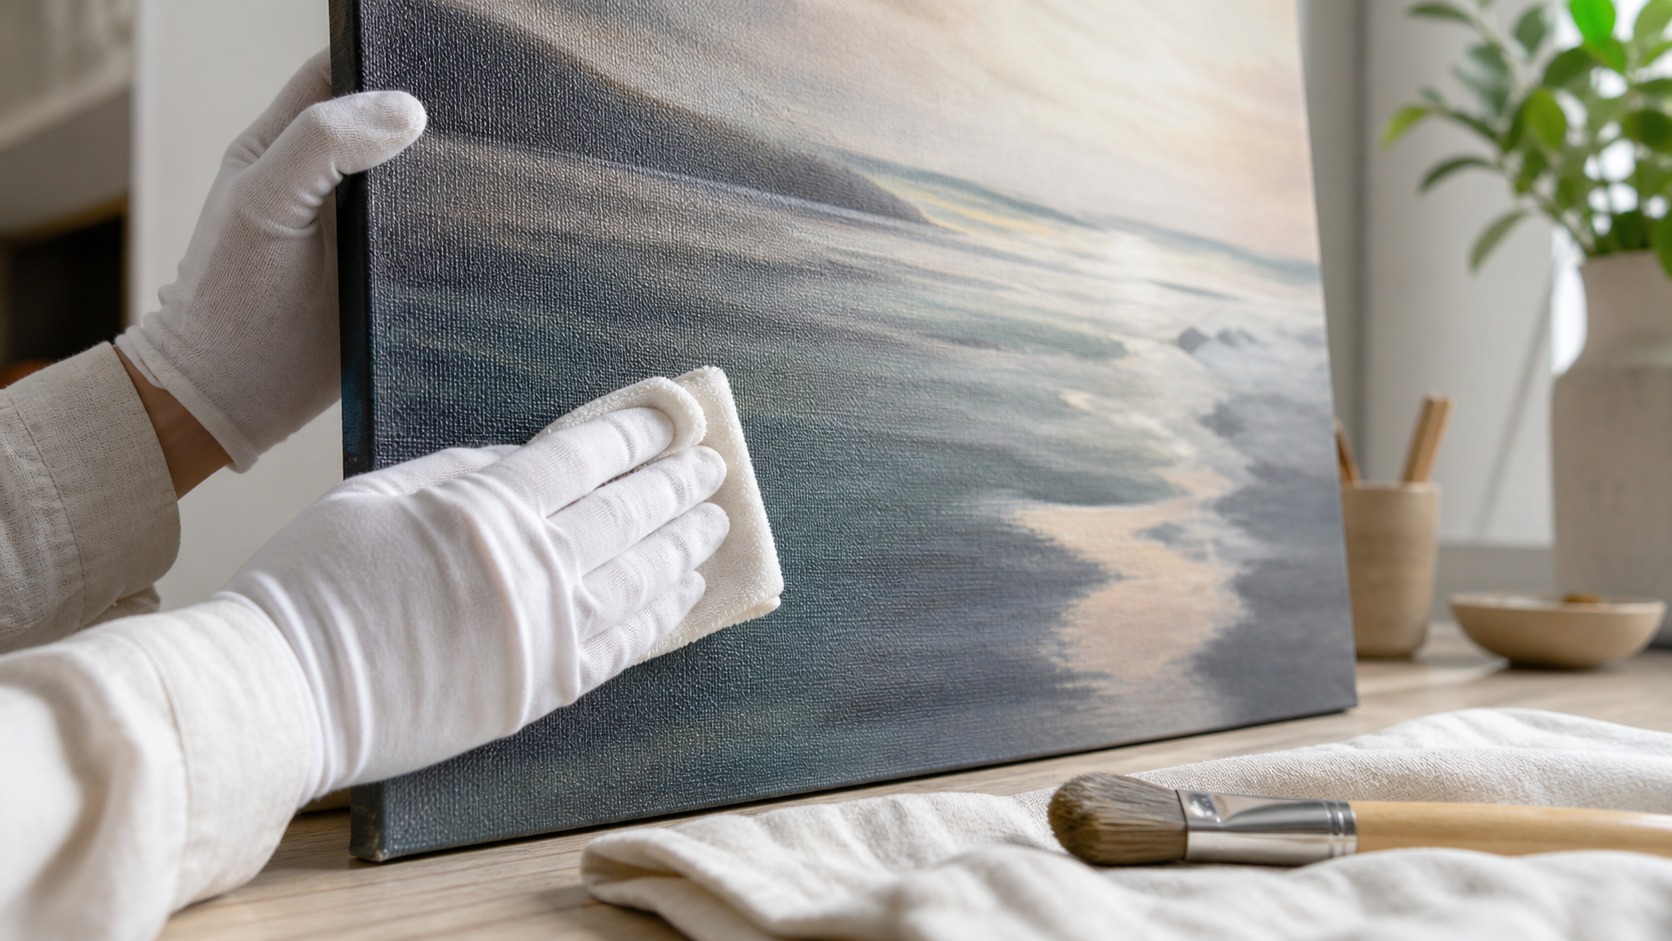
For most canvas prints, dry dusting is the normal maintenance method. A clean microfiber cloth, a very soft artist brush, or a bulb-style air blower can remove loose dust without introducing moisture into the fabric or coating. The tool should move lightly across the surface rather than drag with pressure. If you need force, you are no longer dusting.
Work from the top down so loosened dust does not settle on an area you already cleaned. Hold the canvas steady with one hand on the stretcher or side edge while the other hand uses short, gentle passes. Avoid circular polishing motions on printed areas because repeated friction can change sheen. Straight, quiet movements are safer.
Do not use household dust sprays, glass cleaner, disinfectant wipes, furniture polish, or damp paper towels on the printed face. Those products are designed for hard surfaces, not coated fabric. Even when damage does not appear immediately, residues can leave haze, soften coatings, or attract new dust. Canvas should not smell like a cleaning product after care.
Before cleaning a large canvas, remove watches, bracelets, and rings that can scrape the side edge. Sleeves with zippers or rough cuffs can also brush the print while you reach across it. A few seconds of preparation makes the motion slower and safer. Canvas cleaning should feel almost ceremonial in its care, even when the job is simple.
Lighting can make safe cleaning easier without making it harsher. Place the canvas where soft side light reveals dust, then move away from direct sun before touching the surface. The goal is visibility without heat or glare. Good inspection light reduces the urge to press harder.
Separate the cloth used on the printed face from the cloth used on the back and wall. The rear stretcher area can hold rougher dust, old wall residue, or tiny hardware particles. Bringing that debris to the front defeats the purpose of gentle care. Two cloths are a small safeguard.
Handle Spots Like a Risk, Not a Routine
A spot on canvas is tempting because it looks like a small problem with a small fix. In practice, local cleaning can create a larger shiny patch, softened ink, or a tide mark that draws more attention than the original speck. Before doing anything, identify whether the spot is dry dust, a raised particle, grease, moisture, or abrasion. Different marks require different levels of caution.
Dry particles can sometimes be lifted with a soft brush or the corner of a dry microfiber cloth. Greasy fingerprints, drink splashes, soot, mildew, and unknown stains are more serious. Those should not be attacked with water or solvent unless the printer has supplied exact care instructions for that coating. When the art has emotional or financial value, professional help is cheaper than a failed rescue.
If a printer allows a barely damp test, keep it away from the image area first and use distilled water rather than tap water. Test on an inconspicuous wrapped edge, wait for it to dry, and compare sheen before touching the face. That cautious path is still not a universal recommendation. Many canvas prints are best kept completely dry.
Do not try to make a stained area match by cleaning the surrounding image more broadly. That can turn one small spot into a large uneven field of altered sheen. If a spot remains after safe dry care, leave it alone until you have better guidance. Canvas rewards knowing when to stop.
If you are unsure whether a mark is dust or abrasion, compare it from multiple angles without touching it. Dust often changes appearance as light moves, while rubbed coating or missing ink tends to stay fixed. That simple visual test can prevent needless contact. Observation is the safest first tool.
Protect the Fabric While You Clean
Canvas fabric can stretch, dent, and telegraph pressure marks. Do not clean with the canvas lying face-down, and do not press from the front unless the back is supported by the stretcher structure. A finger behind the fabric can create a small raised area that becomes visible in raking light. The print surface is not a tabletop.
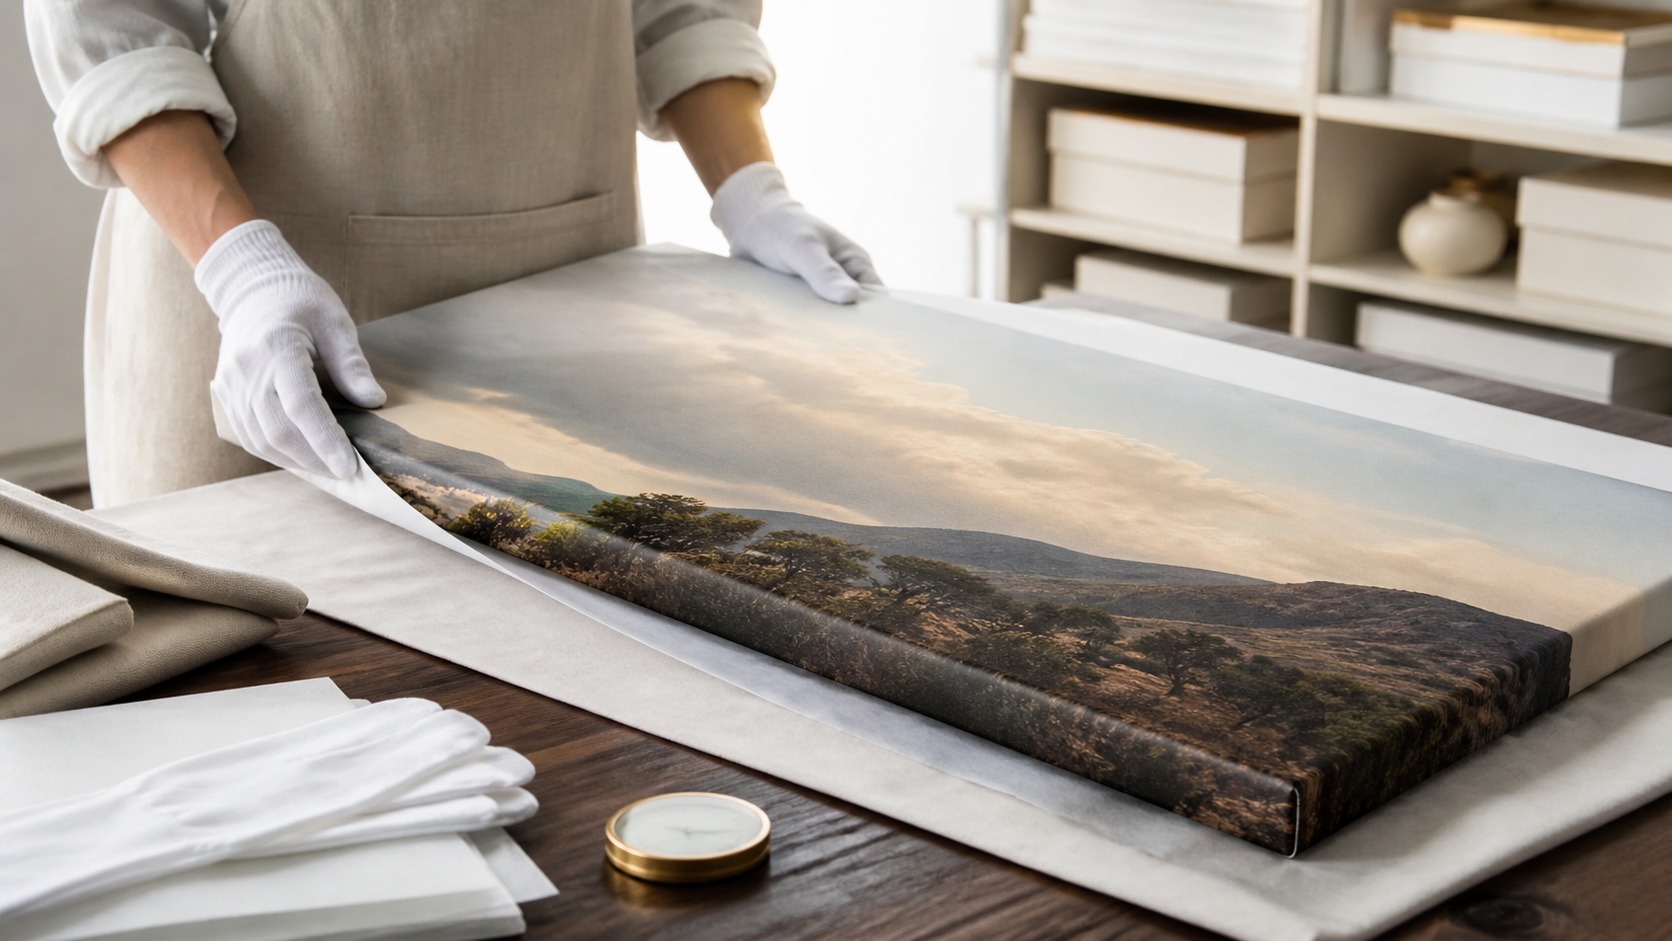
Wrapped edges should be treated as visible artwork. People often grab the sides when moving a canvas, so oils and dust collect there first. A dry cloth can refresh those edges, but aggressive rubbing near corners may soften the wrap or catch on fibers. Keep your hands clean or use cotton gloves when handling large pieces.
Hardware can create cleaning accidents. Wire, sawtooth hangers, and bumpers may scratch a table or shift while the artwork is being moved. Before cleaning, choose a padded surface and remove nearby objects that could strike the print. Good setup prevents the kind of damage cleaning was supposed to avoid.
Humidity deserves attention during cleaning days. A bathroom, kitchen, garage, or damp basement is a poor place to work on canvas art. Moist air can make surfaces feel slightly tacky and can encourage dust to cling. A dry, stable room gives gentle tools their best chance to work.
If the canvas must be laid flat, keep the printed face upward and make sure the table supports the stretcher evenly. A sagging middle can make light pressure more risky. Never place small objects under the fabric or let hardware create a raised point beneath it. The safest work surface is broad, clean, padded, and uncluttered.
Photographing a stain before asking for help can be useful. The image gives the printer or conservator context without requiring repeated handling. Take the photo in soft light and include the location on the canvas. A record also helps you see whether the mark changes over time.
Know When Cleaning Should Stop
The goal is improvement, not perfection. Canvas has weave, coating texture, and tiny surface variations that will never look like glass. Trying to remove every visible irregularity can flatten the finish or create polished patches. Stop once loose dust is gone and the artwork looks clean at normal viewing distance.
Step back between passes. A mark that looks dramatic from six inches away may disappear once the canvas is on the wall. Judging at display distance keeps the cleaning decision connected to how people actually see the art. That habit also saves the surface from needless handling.
The finish can look different under morning, afternoon, and evening light. Before deciding a cleaning mark remains, view the canvas at the time of day when the room is normally used. Some concerns disappear outside harsh inspection light. Cleaning decisions should answer the real display experience.
The safest result may still leave tiny signs of age. A canvas that has lived in a real room can have minor texture irregularities, edge dust, or small marks that are best accepted rather than attacked. Cleaning should preserve the artwork's overall presence. A slightly imperfect original surface is better than a visibly overworked one.
Make Future Cleaning Easier
The easiest canvas to clean is one that was displayed thoughtfully. Keep prints away from cooking grease, fireplace soot, bathroom steam, direct vents, and high-touch hallways when possible. A better location reduces how often the surface needs attention. Cleaning is part of preservation, but placement does much of the work.
Set a gentle rhythm rather than waiting for visible grime. Light dusting every few months in a clean home is usually safer than one aggressive cleanup after years of buildup. Use the same dry tools and the same careful pressure each time. Consistency protects the print because it avoids emergency decisions.
Keep a short care note with the purchase information if the artwork matters. Record the print studio, coating, date, and any specific cleaning guidance they provided. That note becomes useful years later when the surface needs attention or the piece changes rooms. A little documentation can prevent a guess from becoming a mistake.
After cleaning, wait before covering or storing the canvas. Any warmth from handling or room conditions should dissipate, and the surface should feel unchanged. This matters even when you used only dry tools because fabric can trap dust and heat in small spaces. Returning the piece to a stable wall is part of the cleaning process.
If a canvas needs frequent cleaning, the problem may be the location rather than the surface. Kitchen grease, fireplace residue, open windows, and busy entryways all make dust stick faster. Moving the artwork a few feet can reduce future handling. The gentlest cleaning method is the one you do not have to repeat too often.
Owners sometimes worry that careful cleaning will make art feel too precious. In practice, the opposite is true. A clear routine makes the canvas easier to live with because every speck of dust does not become a mystery. Knowing what is safe lets you enjoy the artwork with less anxiety.
If you loan, sell, or gift the canvas, pass along the care note. The next owner may not know whether the surface is coated, delicate, or dry-clean only. Sharing that information protects the object beyond your own wall. Good care can travel with the artwork.